0x00 偶然间的邂逅
今天偶然间看到了 Typora , 看了下他的文档, 很好的符合我的要求, 配合 Hexo 使用, 简直完美。下面是 appinn 的评价:
青小蛙 on 2016.07.16.
Typora 是一款 Markdown 编辑器,拥有 Windows、macOS 客户端,可以算作一款 Windows 下难得的好看、优美的客户端。@Appinn
0x01 需求
对于 md , 图片一直是个痛点, 看到 Typora 可以支持 Paste images from clipboard , 立刻两眼放光,稍加验证, 完全可以满足需求 。
而且 , 提供了一些人性化的 快捷键,可以更优雅的编写 md 文件了 :) 。
而且 可以直接在 渲染后的效果进行书写,这个效果很棒。这是一种其他编辑器都没有的体验。
0x02 粘贴图片的配置
如果要达到 从 clipboard 粘贴图片的效果, Typora 要求提供图片的存放路径, 这里稍有不足的地方是 – 需要针对每个文件都进行调整。
操作步骤
Paste images from clipboard
Since Markdown file is only plain text file, users could not insert image data into Markdown file directly, but can insert image reference to file/url.
Typora support paste image data from clipboard, after telling typora where to put those images. Typora would put image data into given folder or server, then insert images referring to that stored file or url
One common scenario is to edit *.md posts in static sites (like Jekyll) using Typora. For example, if the .*md file is put under _posts folder while the image files goes into _media folder, you may want to copy images files into folder _media when you drag/drop or paste images into Markdown file automatically. Here’s how:
- Save your file into some path. (md 文件必须被保存后)
- Enable
Editor→Image Insert→Allow copy images to given folderin preferences panel.

- Select
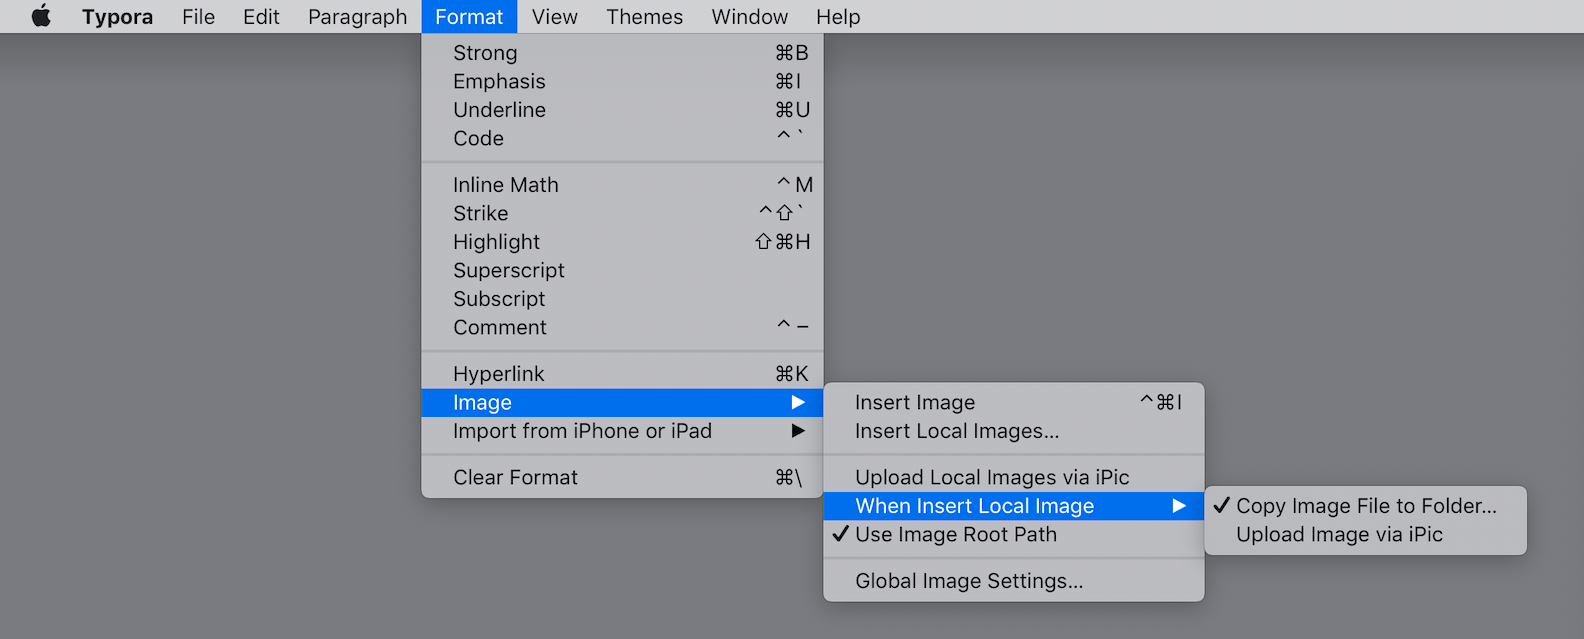
Edit→Image Tools→When Insert Local Images→Copy Image File to Folderfrom menubar, pick the target folder.

In step 3, a new item typora-copy-images-to: {relative path} will be inserted into the YAML Front Matter block of current document. So you could also manually add typora-copy-images-to property in YAML Front Matter to enable this behaviour.
在 step 3 中,会在文件中添加 YAML 信息, 类似如下效果:
|
|
After that, if you drag & drop local images or paste images into Typora, the image file will be copied into the target file and update related src.
这样操作完成后, 不管是 拖拽 还是 粘贴, 图片都会 被拷贝到 target 目录, 并更新相关的 image 的相对地址。
结合 Hexo 使用
参考 之前的文章 在 hexo 中无痛使用本地图片
确保 按 2.1 中的配置好后, 做如下修改,以后就可以基本不用考虑 图片的痛点了:
- 修改
scaffolds下面的post.md和draft.md, 添加如下 YAML :
|
|
- 以后用
hexo new <post>方式生成的文件,就可以直接贴图片了,这里稍微要注意的地方是:- 因为
hexo-asset-image会忽略 以/开头的图片,所以要手动的把路径中的/去掉。
- 因为

